

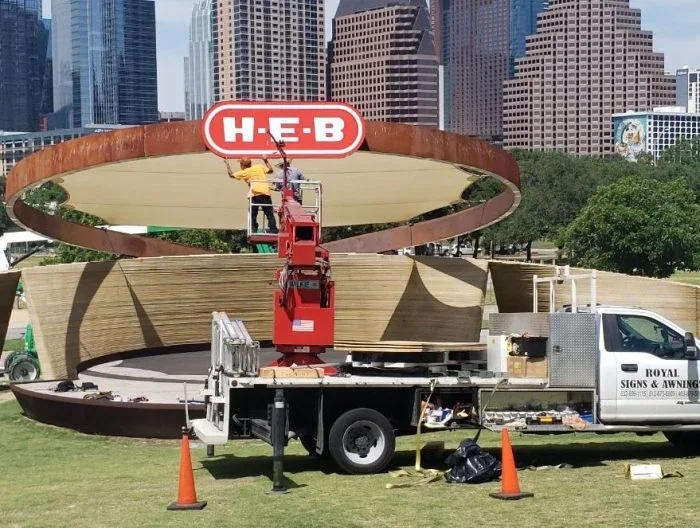
Royal Signs & Awnings works with Houston businesses on sign design, fabrication, installation, repair and maintenance. This page explains how to prepare for the main stages of a new sign project and what information helps each stage move forward. The precise sequence depends on the work: a replacement face, new storefront identity and coordinated property package will not have identical requirements.
Start with your objective and the project address. We can then discuss the appropriate scope, identify the necessary information and explain the next decision before the work progresses.
1. Explain What the Sign Needs to Achieve
Begin with the reason for the project. You might be opening a location, replacing an outdated identity or helping customers recognize a difficult entrance. If several signs are involved, describe the full arrival experience rather than concentrating only on the largest item.
Tell us the business name, location, current situation and intended timing. Photographs are useful even when the design is undecided. A clear objective helps us distinguish essential identification from optional additions and identify which sign family deserves closer attention. At this stage, you do not need a technical specification; you need a practical account of what you want the signage to do.
2. Bring the Available Information Together
Gather your current logo, property photographs, available drawings and landlord criteria. Identify documents that are approximate, outdated or still awaiting approval. One current source for each item is easier to use than several conflicting versions.
For an existing sign, include records that explain its construction or previous installation where available. For a new premises, show the relevant frontage and explain what renovation work remains. This information helps establish which questions can be answered now and which need further review. It also prevents an early drawing or estimated dimension from being mistaken for a confirmed instruction later in the project.
3. Identify Who Can Approve the Work
A business owner may approve the budget while a brand manager controls artwork and a landlord provides sign criteria. Decide who will collect those inputs and return one coordinated response.
Tell us who can approve the design and who can confirm the property is ready for installation. If different people hold those responsibilities, identify both. A main contact does not need to make every decision personally, but should know where the decision belongs. Resolving conflicting instructions early makes the process easier to follow. It also avoids approving one version of the sign internally while another version continues through property review or estimating.
4. Review the Site Questions That Affect the Proposal
The sign location gives the design and quotation their physical context. Available area, mounting conditions, approach direction and installation access can change the scope even when the desired sign type stays the same.
The project determines whether photographs and existing records are sufficient for the next discussion or whether a site review is needed. Where a visit is required, agree its purpose and arrange access with the appropriate contact. The resulting information should identify what is confirmed and what remains uncertain. A visual review should not be treated as certification of concealed structural or electrical conditions that require separate assessment.
5. Agree the Proposed Scope and Quotation
The quotation should connect the intended appearance with the work being supplied. Review sign quantities, dimensions, construction, finishes, illumination and installation responsibilities. Ask how removal, property preparation and other related tasks are addressed where relevant.
Compare the complete proposal rather than the sign category alone. Two quotations for channel letters, for example, may describe different dimensions or service responsibilities. If an item depends on further information, make sure that assumption is understood. A clear scope gives you something concrete to assess and helps the project move into design or production with the same expectations on both sides.
6. Develop the Design Around the Actual Application
Design should show how the business identity relates to the proposed sign and property. The exact wording, hierarchy and proportions matter as much as the general visual style.
Share any essential brand rules and explain which elements can be adapted. A small descriptor may need review for the intended viewing distance, while a long name can require a different arrangement from the original logo. Consolidate feedback before requesting revisions so the design develops in one direction. The design scope should identify the included deliverables and revision arrangements; broader brand development or additional technical documentation should be discussed separately where needed.
7. Check the Final Proof Carefully
Before approving the relevant artwork, check the business name, spelling, punctuation, logo version and supporting text. Review the proposed dimensions and location references against the current project information.
Do not approve a proof solely because the rendering looks attractive. Confirm that it describes the application you intend to order and ask about unresolved details. Keep the accepted version identifiable so older concepts do not circulate as current instructions. If a condition still needs verification before fabrication, establish that next step explicitly. A deliberate approval checkpoint gives production a clearer basis and helps prevent an avoidable wording or version error becoming a physical sign.
8. Complete the Required Coordination Before Release
Property criteria, project approvals and any specialist documentation need to be addressed within the responsibilities agreed for the work. Confirm who provides information, who submits it where applicable and who communicates the resulting decision.
The required coordination depends on the exact address and proposed sign. Do not assume that an existing sign establishes acceptance for a different configuration. If the proposal changes, check whether the relevant documents need updating. This stage should keep the approved appearance, scope and property requirements aligned. The schedule becomes more meaningful when these dependencies are visible rather than hidden behind an estimated production date.
9. Move the Approved Sign Into Fabrication
Fabrication should follow the released project information, with the supplied assembly matching the agreed specification. If you request a change after approval, contact us before assuming it can be absorbed into the original work.
Different stages allow different adjustments. A wording change can affect materials already prepared, and an increased size can alter more than the visual proportions. Any accepted revision should be connected to an updated scope, price or schedule where required. Keeping changes controlled is part of protecting the result you approved. It also provides a clear reference for the later installation rather than relying on an informal conversation about the latest preference.
10. Confirm the Property Is Ready for Installation
Installation depends on the site as well as the finished sign. Relevant surfaces, electrical preparation, access arrangements and preceding building work should be ready according to the agreed responsibilities.
Provide the site contact and explain operating restrictions, deliveries or other activities that could affect the work area. If the property is under renovation, report changes that affect the proposed sign location. The installation arrangement should reflect the current conditions and the resources needed for the work. Confirming readiness helps avoid bringing a completed sign to a location where an unresolved preparation task prevents the planned installation from proceeding.
11. Review Completion and Keep the Useful Records
At completion, review the supplied work against the agreed scope and raise any question with the relevant project reference. For a package, identify individual signs by their location or schedule reference rather than a vague description.
Retain the approved artwork, relevant sign information and written warranty terms supplied for the project. Ask about appropriate care and the route for future service enquiries. These records make later maintenance, rebranding or a second-location request easier to explain. The objective is a finished project the business understands, with any outstanding responsibilities clearly identified and a practical starting point for questions after installation.
Begin Your Houston Sign Project
Call Royal Signs & Awnings at (346) 658-2412 or use Request a Quote to share the address, photographs and outcome you want. Include your target timing and any property or artwork information already available.
We can discuss the relevant next stage without asking you to solve every technical question first. Clear information, coordinated approvals and an agreed scope help turn the initial idea into a commercial sign project you can assess and manage.
Sign Project Process FAQs
Do all sign projects follow the same sequence?
No. The work determines the sequence. A new installation, refacing request and repair enquiry need different information. The relevant stages and responsibilities should be discussed for your particular scope.
Can we begin before our logo is finalized?
You can start by explaining the property and objective. Identify what remains undecided so the design requirement and any effect on later stages can be discussed before production commitments.
Who should approve the final proof?
The person authorized by your business should approve the relevant artwork after collecting required internal and property feedback. Keep the accepted version identifiable and check the wording carefully.
Can we change the sign after approval?
Request the change promptly. Its effect depends on the work already completed and the revised requirement. Scope, price, documents and timing may need updating before the change is accepted.
What needs to be ready for installation?
That depends on the agreed work. Confirm relevant surfaces, preparation, electrical responsibilities and access with the project team, and identify the person who can report that the site is ready.
What should we retain after the project?
Keep the relevant approved artwork, project references, supplied sign information and written warranty terms. These records help identify the installation when discussing service, changes or additional signs later.